Step 2: Connect your first phone
There are two ways to bring a phone into VMOS Cast. Pick the one that fits your situation:
| Your situation | Method to choose |
|---|---|
| Physical phone, connecting for the first time | USB cable connection (you must do this once) |
| Physical phone that has connected over USB before and has WiFi connection enabled | Local network connection |
| Cloud phone / cloud phone instance | Local network connection (enter the IP directly) |
Option 1: USB cable (required for a physical phone's first time)
Three quick steps (for detailed walkthrough with pictures, see USB cable connection):
- On the phone, enable "Developer options" → "USB debugging";
- Connect the phone to the computer with a data cable (not a charge-only cable);
- When the phone shows "Allow USB debugging?" → check "Always allow" → tap "Allow."
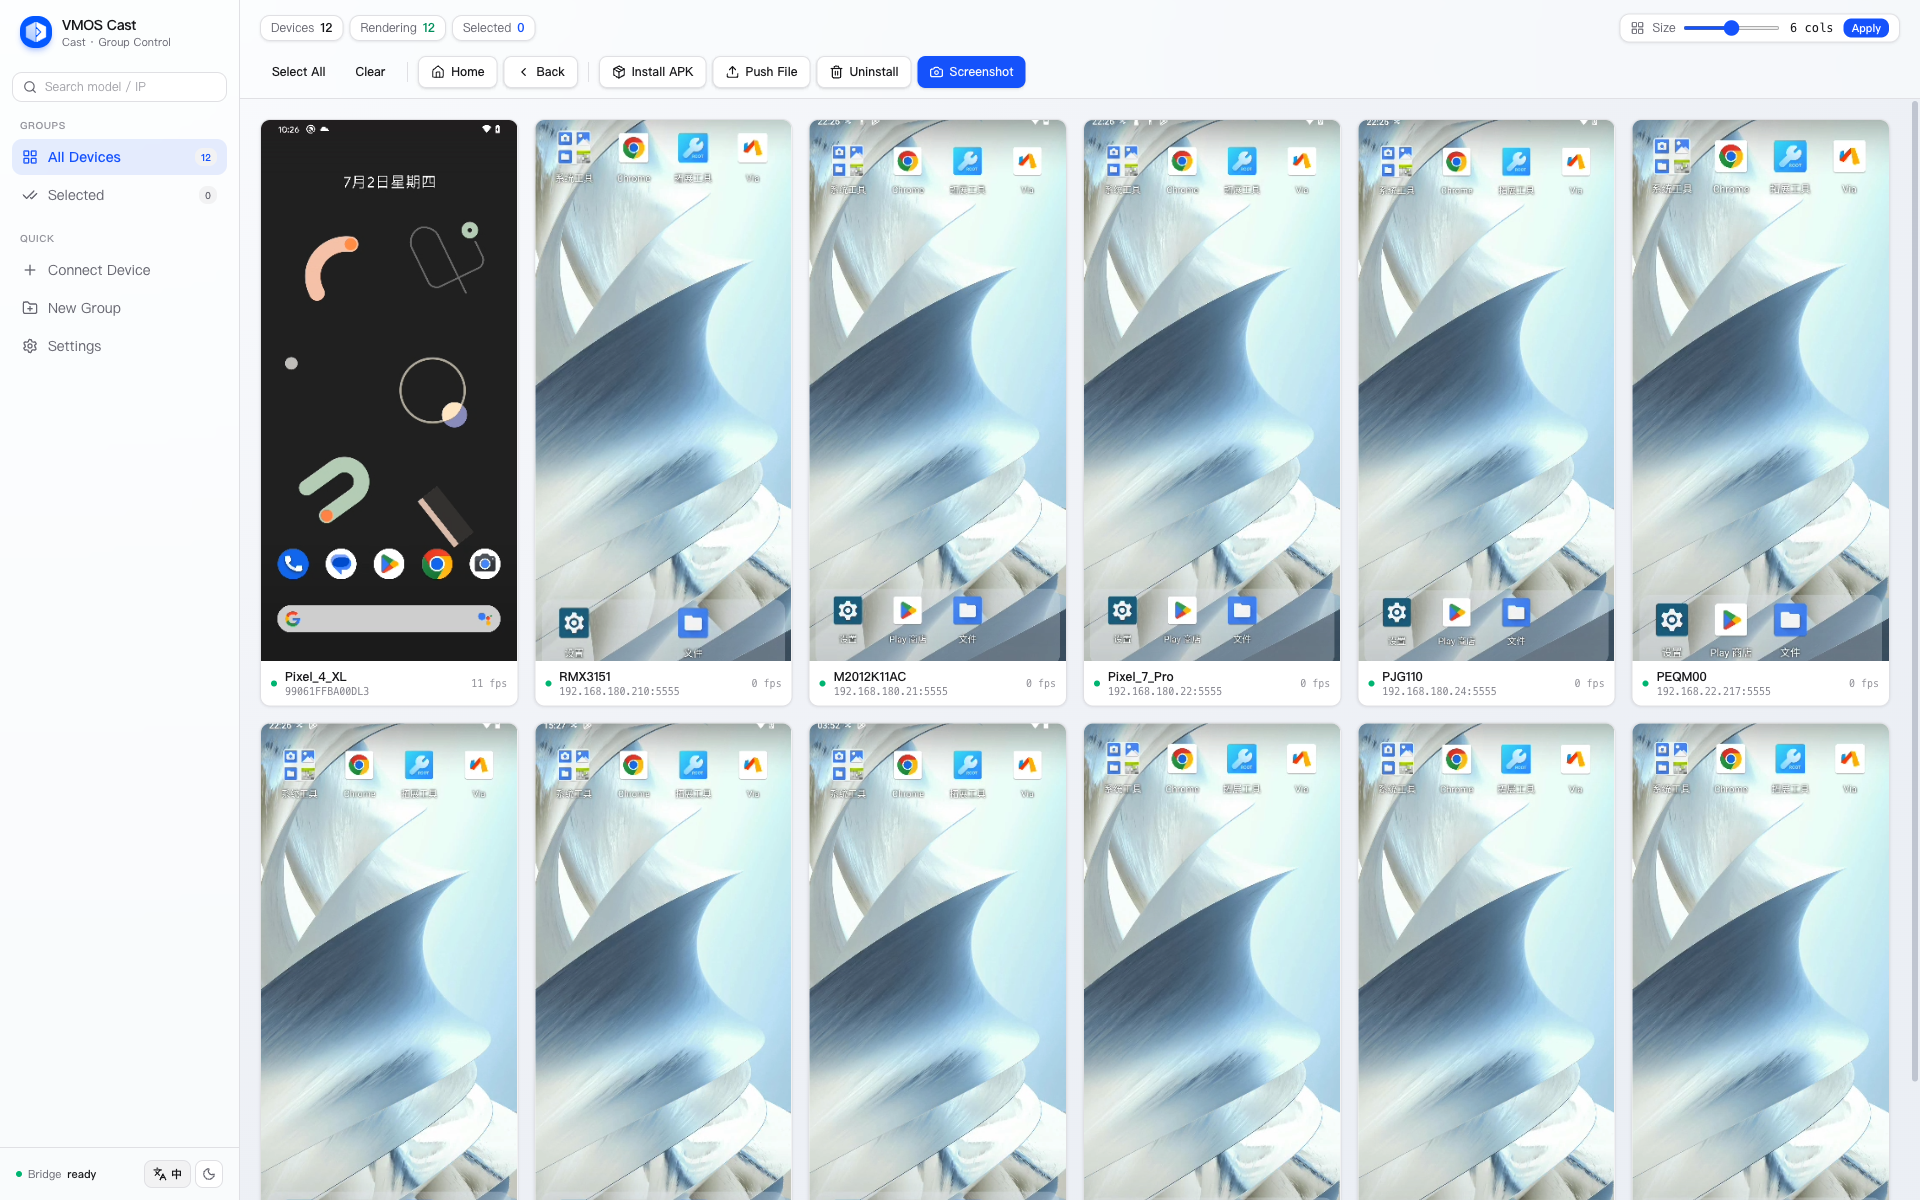
Once done, the phone's screen appears on the device wall automatically — no manual adding needed.
Option 2: Local network connection (cloud phones / physical phones with WiFi enabled)
- Make sure the phone/cloud phone and the computer are on the same local network;
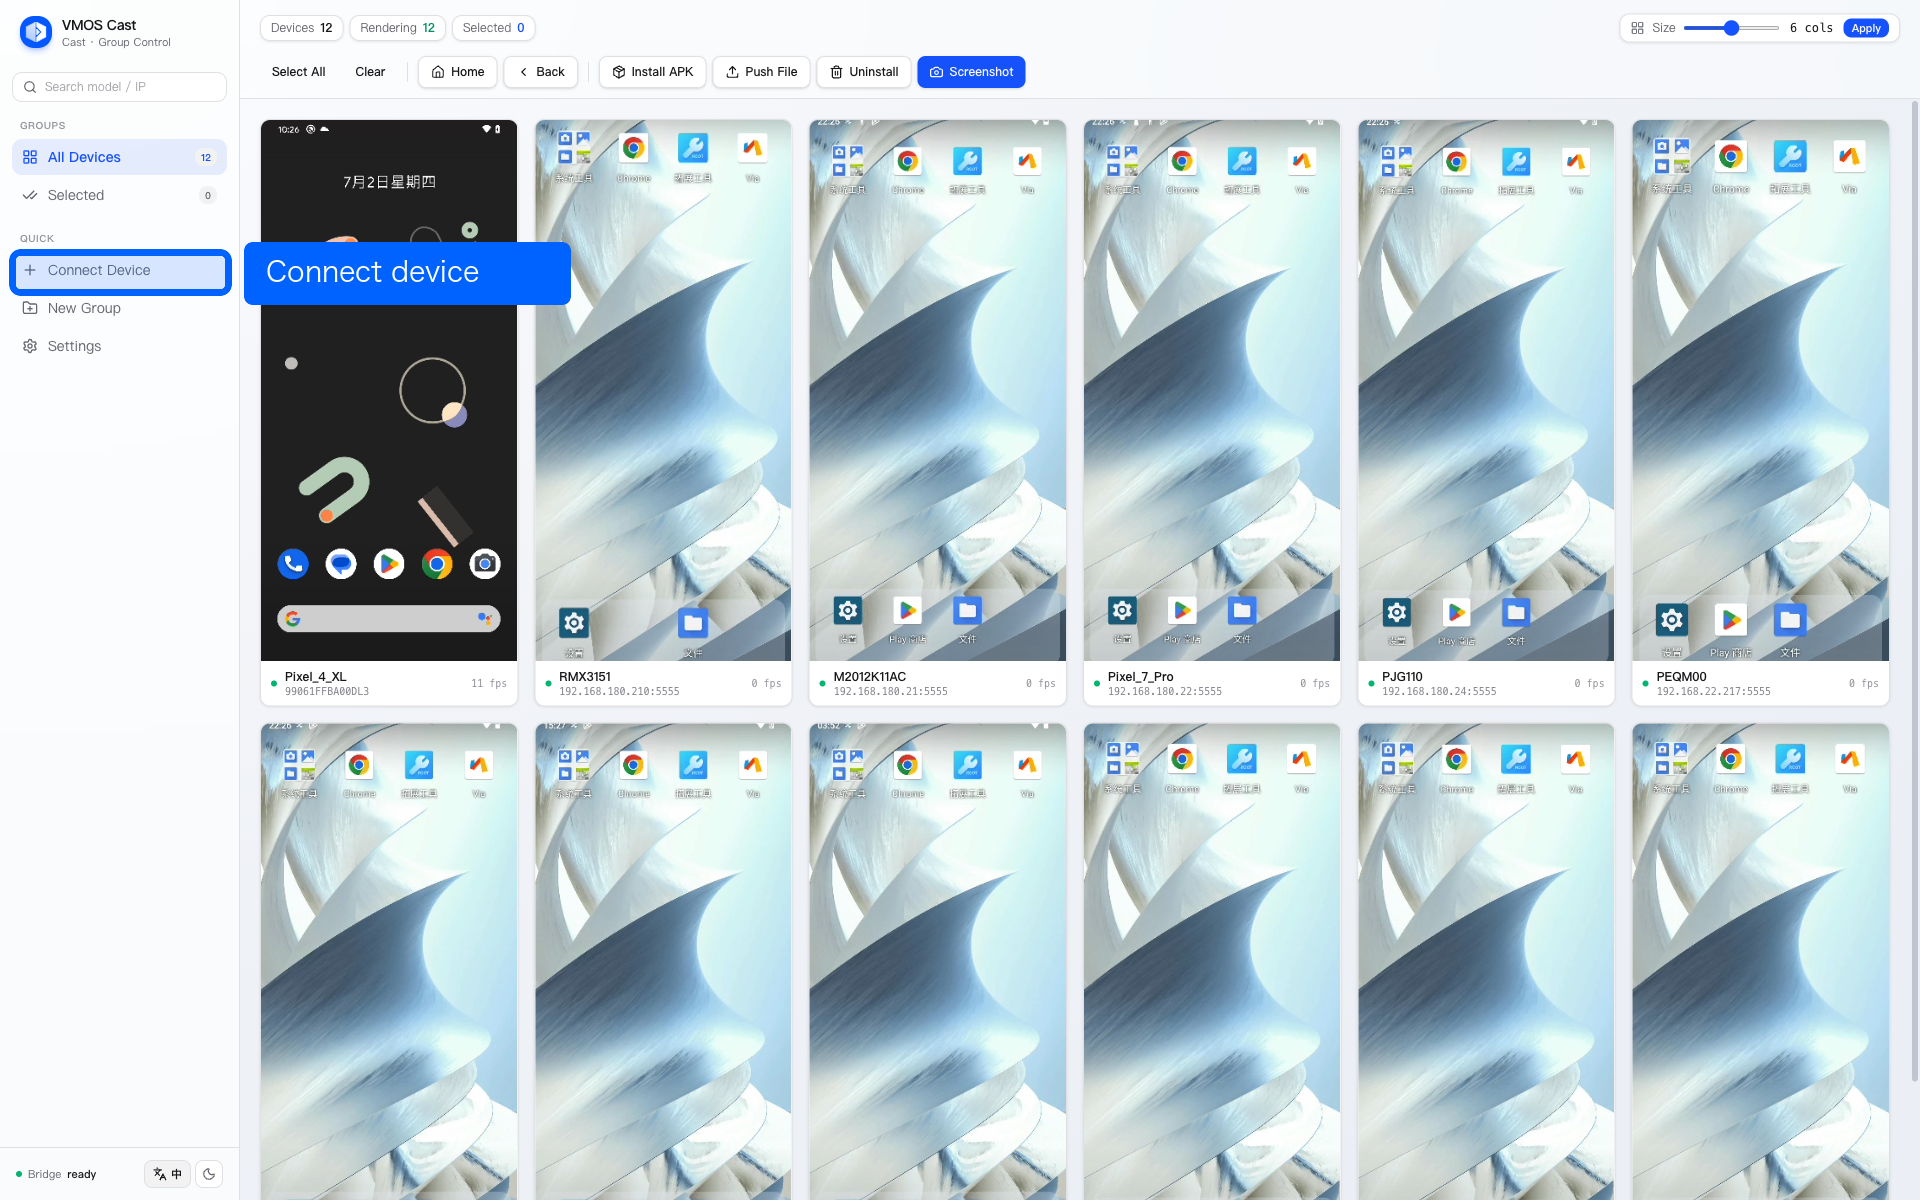
- Click "Connect device" in the sidebar;
- Enter the device address (one per line, batch supported):
192.168.1.100:5555
192.168.1.101:5555- Click "Connect" — the screen appears on the device wall after a few seconds.
The "Connect device" entry is in the sidebar's shortcut area:
A physical phone's first WiFi connection fails?
Physical phones don't allow network connections by default. You must first "prime" one over a USB cable. See Local network connection: First-time WiFi setup for physical phones.
After connecting
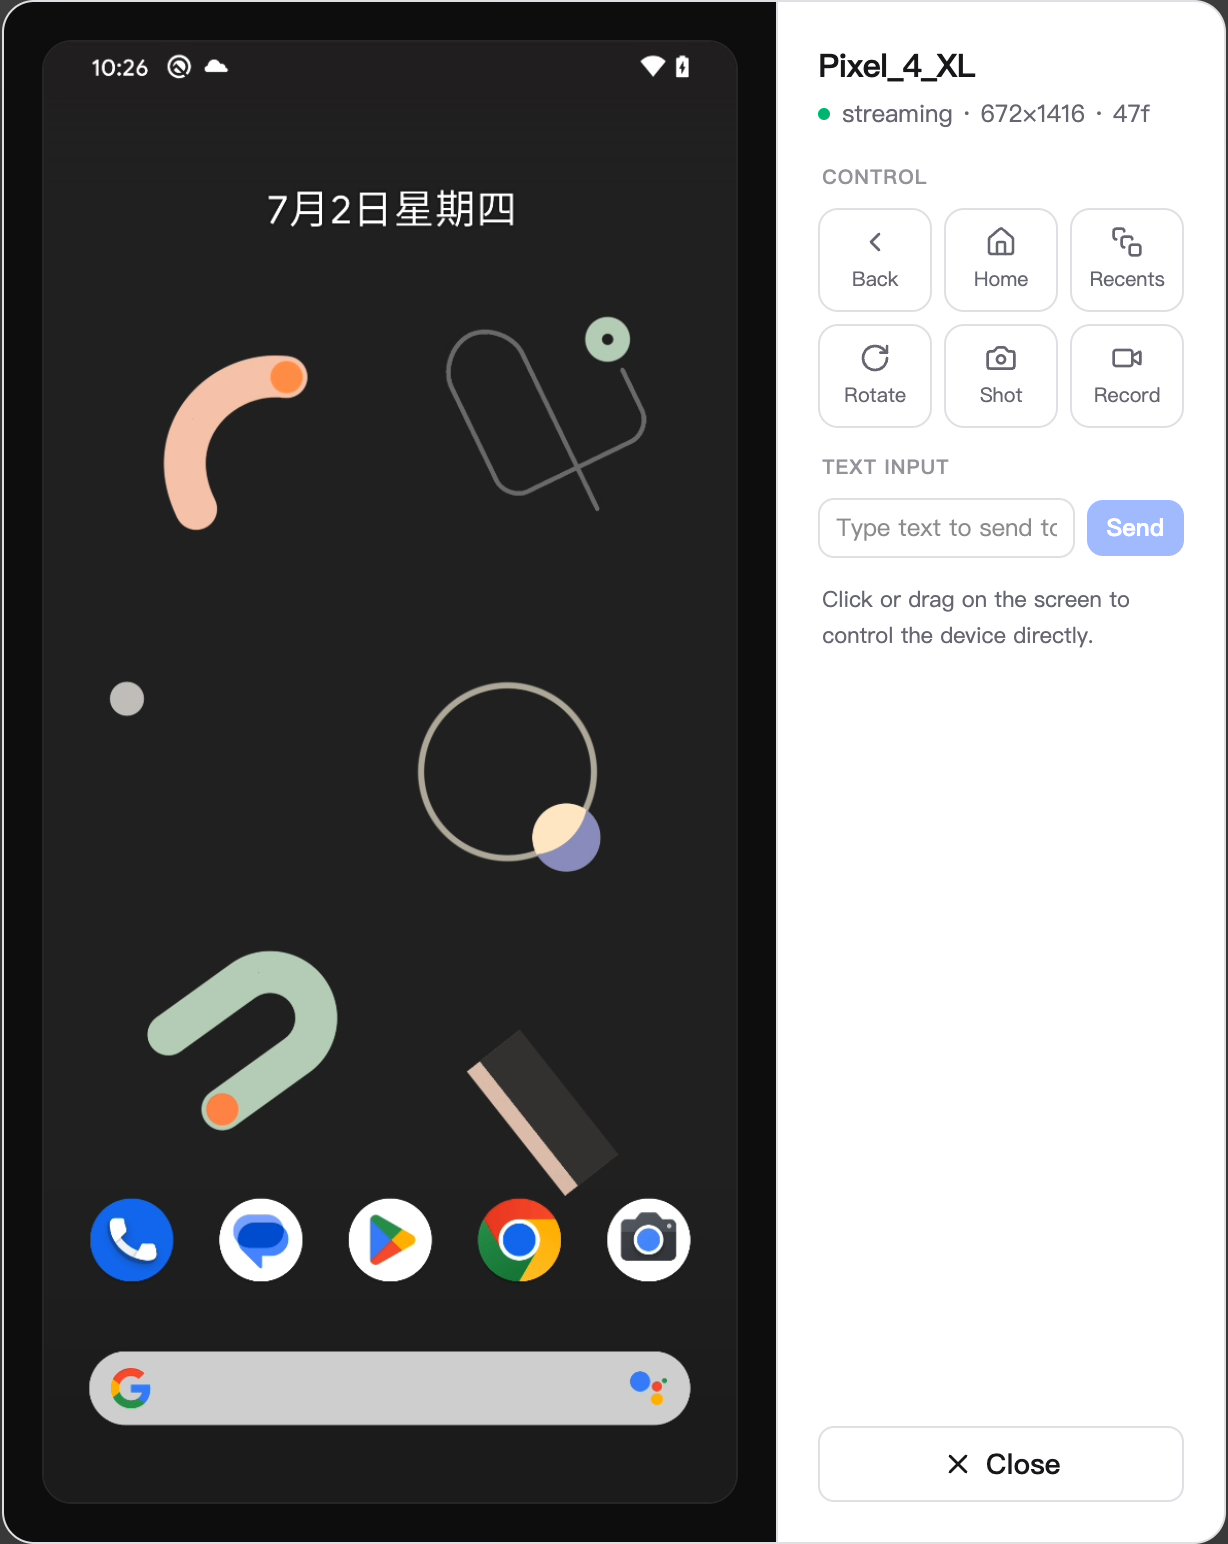
- See it big: click a device card's screen area to open a standalone control window and drive the phone with your mouse;
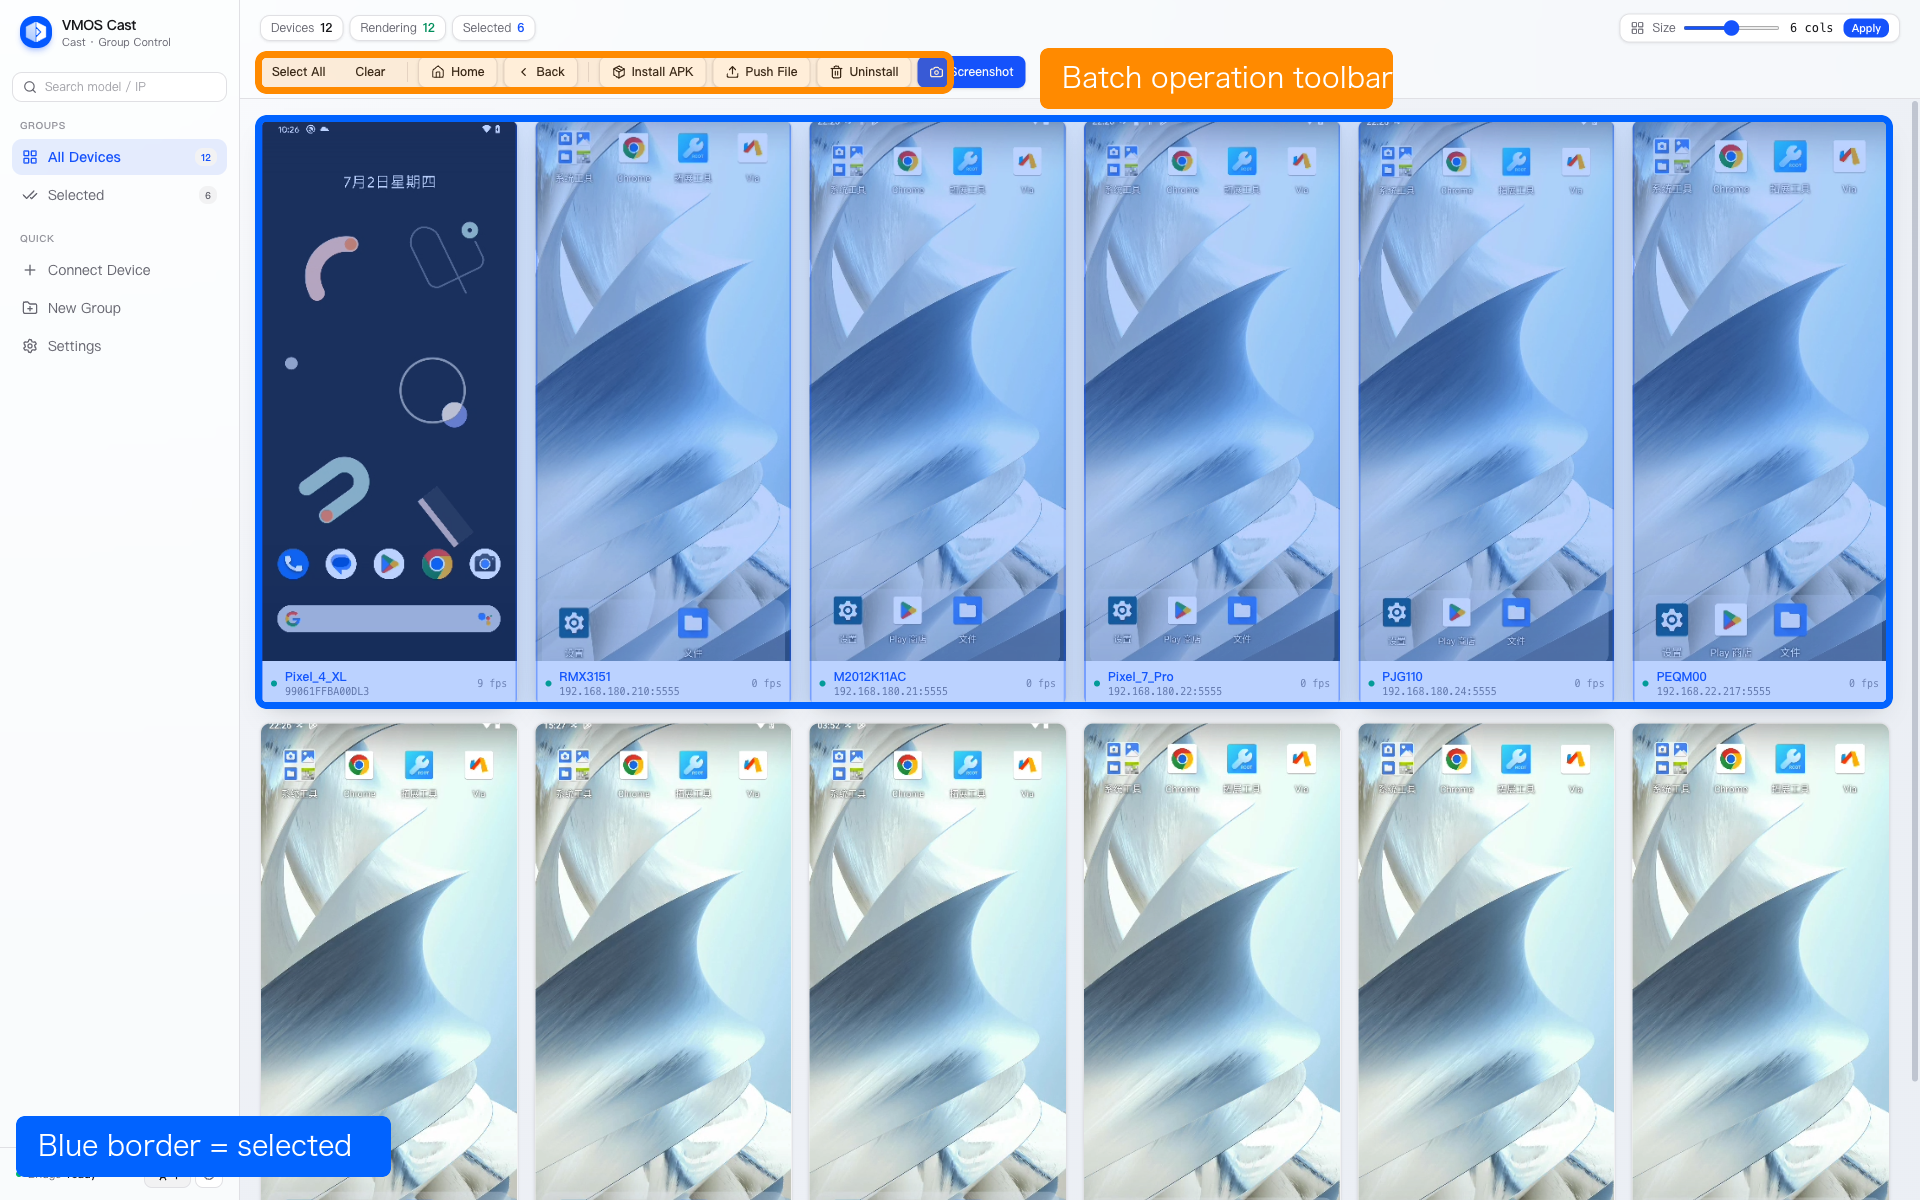
- Multi-select: click anywhere on the card outside the screen (such as the title bar) to select/deselect; once selected, you can run batch operations;
- Addresses you've connected to are saved automatically — VMOS Cast reconnects to them the next time you launch it, so you don't have to add them again.
Selected devices use a blue border, and the top bar shows how many are selected:
Next, take a look at Device wall & groups and Group control & batch operations.