Local network (WiFi) connection
Bring devices into VMOS Cast by IP address, no cable required. For cloud phones and physical phones that already have WiFi connection enabled.
Prerequisites
- The device and the computer are on the same local network (same router/switch; on a corporate network, watch out for VLAN boundaries);
- The device has network adb enabled (cloud phones usually have it on by default; a physical phone needs to be "primed" first — see below).
Cloud phones: connect directly
Cloud phones (VMOS Edge and other cloud phone instances) generally have port 5555 open by default:
- Find the instance's IP address in your cloud phone management console;
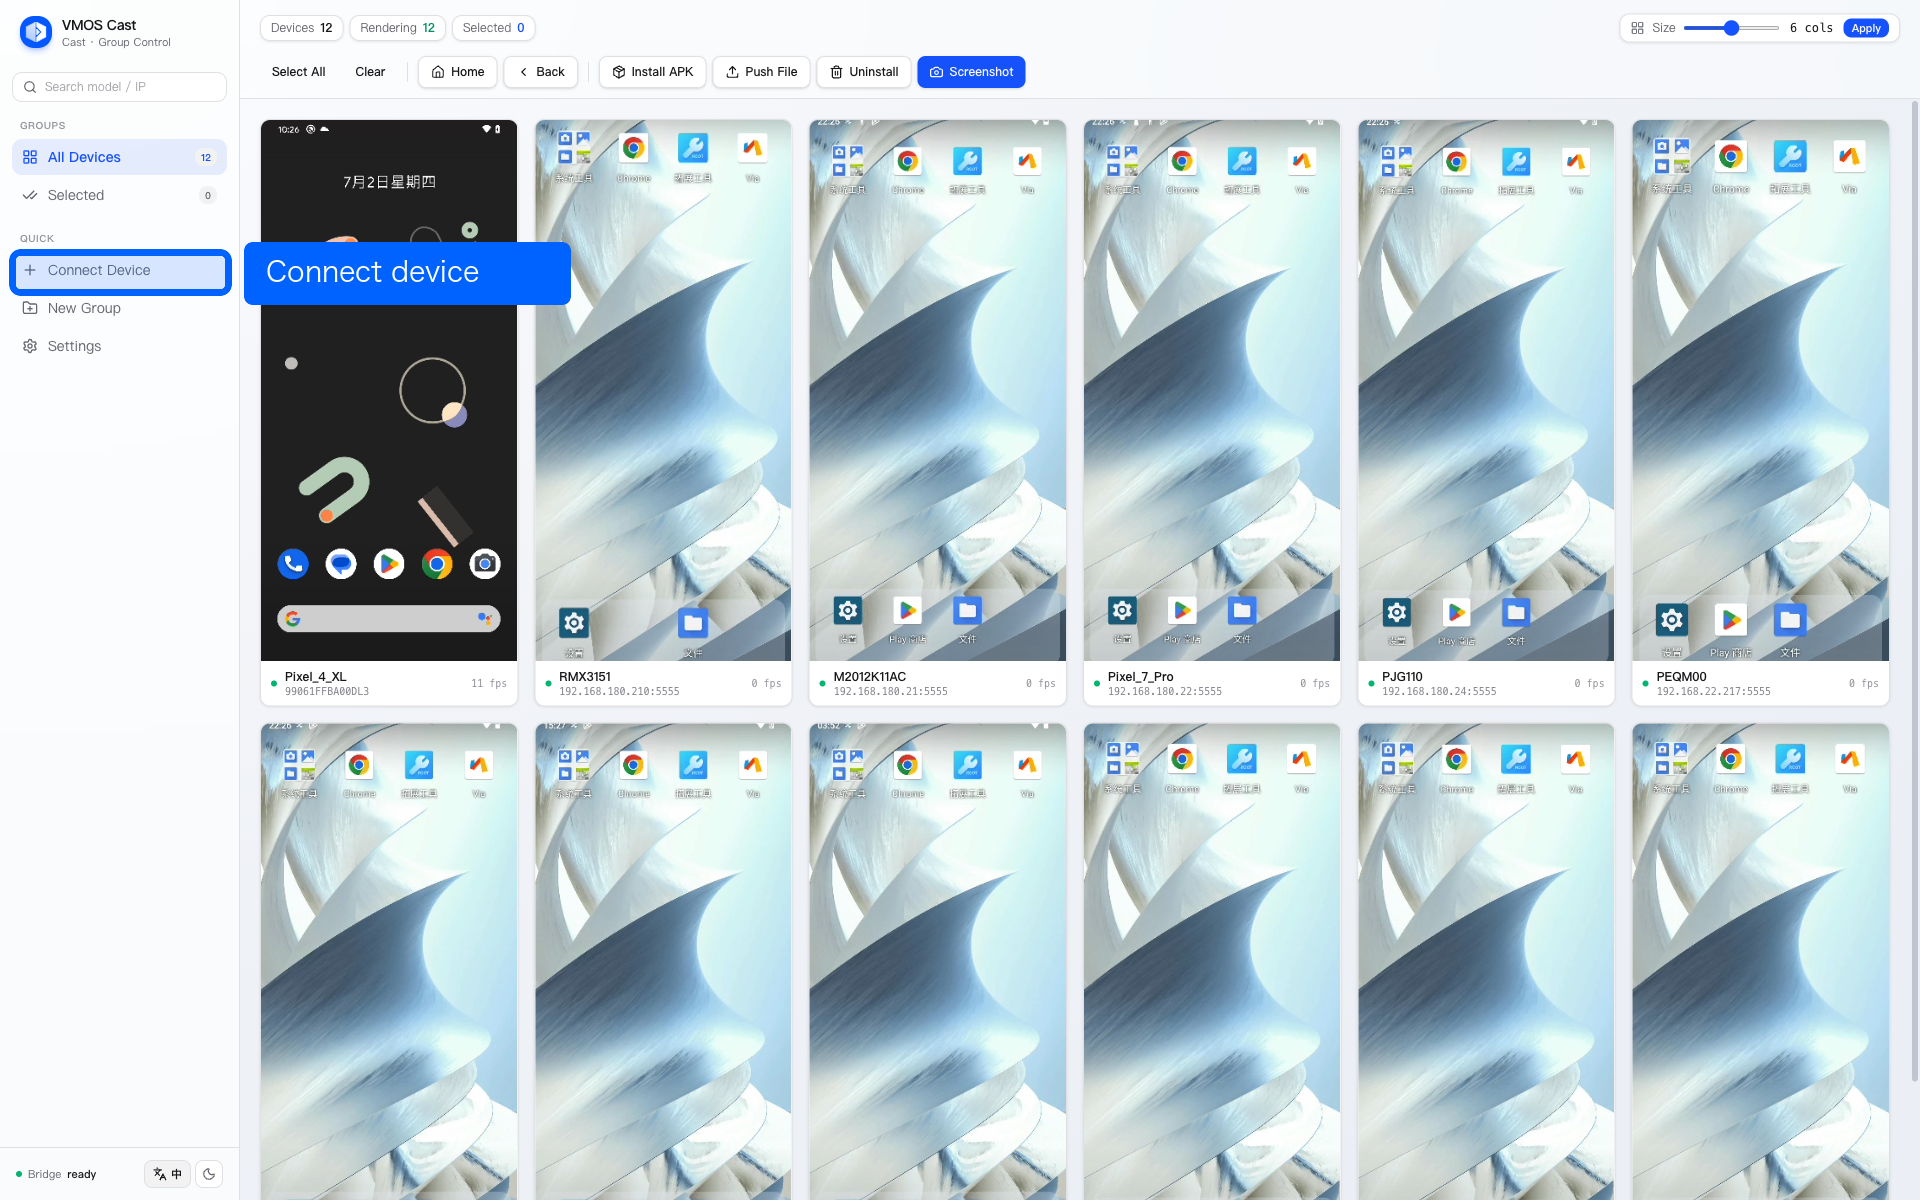
- Click "Connect device" in the VMOS Cast sidebar;
- Enter
IP:5555(e.g.,192.168.1.100:5555) and click connect.
If it won't connect: confirm the IP is correct, that the computer can ping that IP, and that the cloud platform has opened the adb port.
The connection entry is in the sidebar shortcut area:
First-time WiFi setup for physical phones
For security, physical phones do not allow network connections by default. You need to "prime" one over a USB cable once to enable it:
- First connect the phone over USB following USB cable connection (until you can see its screen on the device wall);
- In a terminal on the computer, run (keep the phone plugged in):
adb tcpip 5555- When you see
restarting in TCP mode port: 5555, it's enabled — you can now unplug the cable; - Find the phone's IP: it's shown under the phone's "Settings → WLAN → current network" (e.g.,
192.168.1.88); - Back in VMOS Cast, click "Connect device," enter
192.168.1.88:5555, and connect.
Reset after a reboot
After the phone reboots, network adb turns off automatically, so you'll need to plug in and run adb tcpip 5555 once again. This is a security mechanism of the Android system.
"Wireless debugging" on Android 11+
Newer systems have a "Wireless debugging" feature (pairing-code style) in Developer options, but the port is random and the process is more involved. For now we still recommend the USB priming method above — it's simpler and more reliable.
Batch adding
The "Connect device" dialog lets you paste multiple addresses at once (one per line, or comma-separated) and connect them all in one click:
192.168.1.100:5555
192.168.1.101:5555
192.168.1.102:5555
Automatic reconnection
Every address you've connected to is saved automatically. The next time you open VMOS Cast, it reconnects to all saved devices — it's fine if a device is temporarily powered off; once it's back on the network, it returns to the device wall automatically.
In the saved list inside the "Connect device" dialog, you can remove addresses you no longer need.
Troubleshooting order
| Symptom | Check first |
|---|---|
| It fails immediately after entering an IP | Make sure the format is IP:5555, not just the IP |
| Stuck on connecting | Confirm the computer and device are on the same subnet; corporate VLANs and guest networks may isolate devices |
ping fails | Fix the network first; this is outside VMOS Cast |
ping works but connection fails | adb port is not open, blocked by firewall, or a physical phone lost priming after reboot |
| Many devices drop often | Use wired network on the computer, disable AP isolation on the router, and avoid WiFi power saving on devices |